
NOTE: Throughout this little guide, I am going to use Figma for demonstration. However, keep in mind that almost everything also applies to Sketch and Adobe Xd.
What are Figma and Sketch?
First of all, it’s important to know what the tools we’re working in are for. Figma and Sketch are primarily made for User Interface (UI) design and prototyping, meaning that you can create user interface prototypes with ease in Figma and Sketch.

Figma
Figma is a collaborative online tool that works right inside your browser, so you can use it whether you’re on Windows or Mac. However, this also means you can only really use it with an internet connection. You can download the desktop app if you’re more comfortable with that, but it’s not any different from the browser version. You can use it completely for free if you don’t work in an organization. You can use Figma here.
Sketch
Sketch is a desktop app for Mac only. You can get a free 30-day trial. After that, if you wish to keep it, you will need to pay 99$ as a one-time purchase. However, you will only receive updates for one year. If you wish to keep getting updates afterwards, you will need to buy the license again. You can get Sketch here.
Gettings started
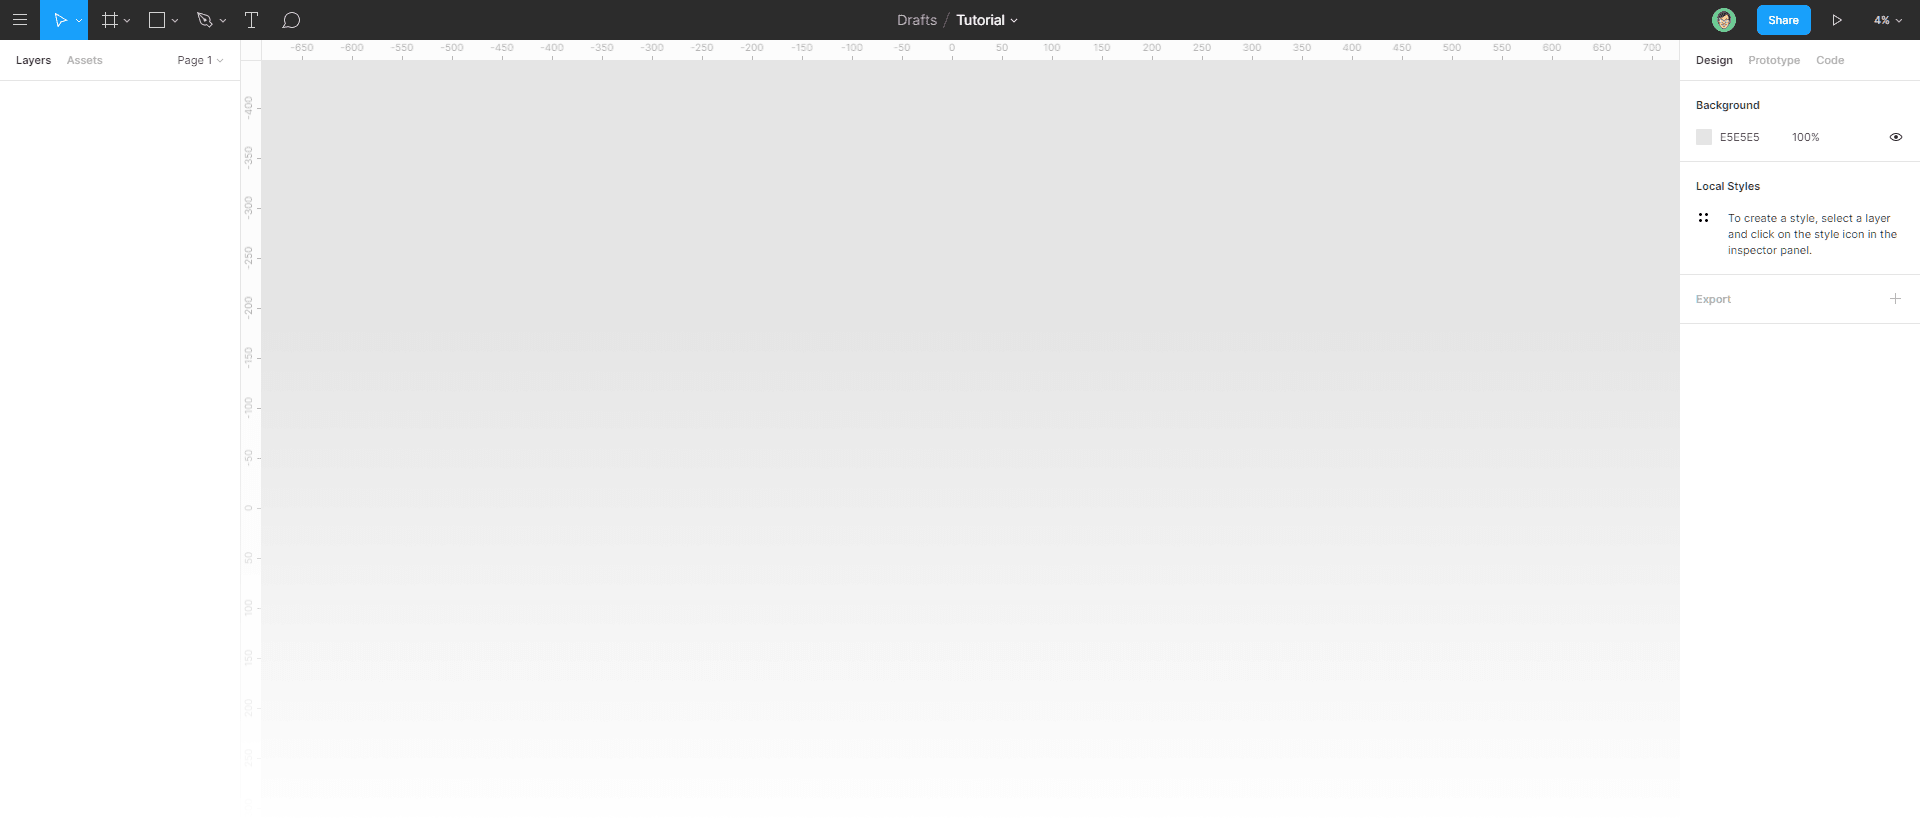
Once you create a new document in Figma or Sketch, this is the interface you will see (see below). There isn’t much, right? Figma and Sketch present only the essential to get started once you create a new file. On the top, you’ve got your tools (In order from left to right are: Move, Frame, Rectangle, Pen, Text and Comment, with more tools in each dropdown). In Sketch, those tools are all located on the top left under ‘’Insert’’. You can, however, rearrange the toolbar at the top to your liking. On the left side will be your frames/artboard and your layers, and on the right side will be some settings to change values of text, color, shapes, etc. You also have your prototyping features on a different tab on the right side.
The tools
Most of the tools you have available at the top of the interface are pretty straightforward, but I’m going to explain what each of them are for and in what cases you can and should use them.
 Move and Scale tools
 The move tool
The move tool is what you will be using when you’re not using any other tool. You can, obviously, moves elements around with it but also use it to resize and select elements. Hold down Shift to select multiple elements at once or to scale up or down while keeping the elements’ proportions.
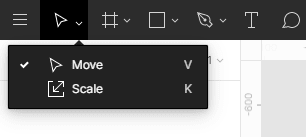
The Scale tool
Underneath the Move tool, you’ll find the Scale tool. This is what you should use when you want to scale up or down things such as icons you have imported into your document. This is because the Scale tool will keep the element’s proportion perfectly, whereas the move tool might not (even if you hold Shift). The hotkey for the Scale tool is ‘’K’’
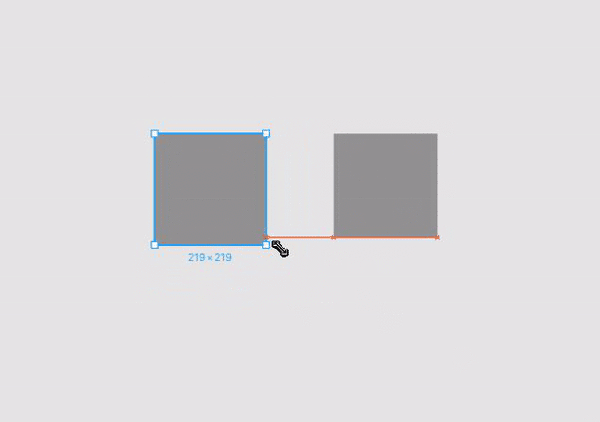
 As you can see, scaling things such as icons that use strokes instead of filled shapes is not effective with the move tool (V). Instead, use the Scale tool (K) so that the strokes keep their proportions.
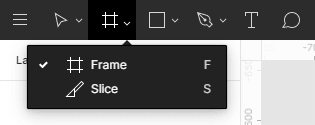
The Frame Tool
A Frame (or artboard) is a group with a predetermined width and height. This is basically the foundation of any UI prototype whether it’s for a desktop or mobile interface. Both Sketch and Figma give you a couple choices of common dimensions for mobile, tablet, desktop, smart watch, paper and social media.
The Slice Tool
The Slice tool is made to export a specific area of a screen. Place it on the area of the frame you want to save as an image, select the slice, then scroll down to ''Export'' on the right side of the interface, click the +, then export it! You will have an image of everything that is underneath that slice layerThe.
 The shape tools
 The Shape Tools
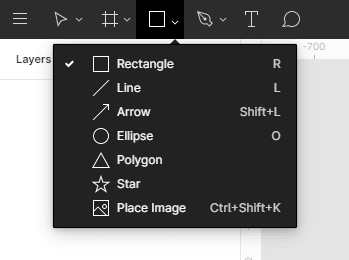
Those are pretty straightforward and it’s what you will use a lot of the time. With the rectangle tool, you can create rectangles and squares. The line and arrow tools create a line using a stroke. With the Ellipse tool, you can create circles and ovals. With the Polygon tool, you can create a shape of 3 or more sides and with the Star tool, you can create a star with 3–60 points. You can also import an image into your file with the Place Image tool.
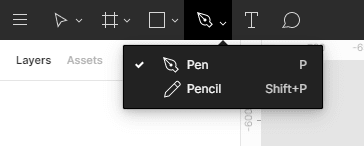
The Pen Tool
The pen tool is especially useful for creating icons. If you’re familiar with Illustrator’s pen tool, Figma’s and Sketch’s pen tool should feel very similar.
The Pencil Tool
You can use the pencil to draw strokes. I’ve personally never really used it and chances are you won’t either. Could be useful for sketching

The Text Tool
The text tool is something you will use all the time. Figma defaults to Roboto 12pt. You can change that (and much more) in the Design panel on the right side of your screen. It’s also good to note that Figma has the whole Google Fonts library built-in, while Sketch does not have that. You will have to download the fonts you wish to use if they aren’t already on your Mac if you're using Sketch.
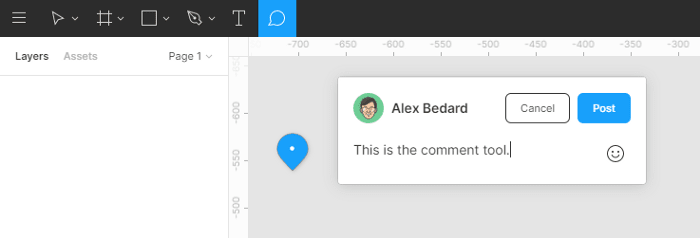
The Comment Tool
This is quite straightforward. With the Comment tool, you can leave a comment anywhere on your screen. It’s especially useful when you work with other people, or if you want to leave yourself some notes. Sketch does not have this feature.
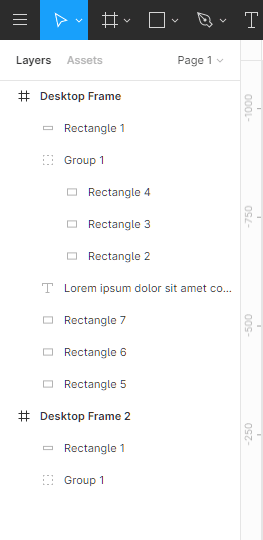
The Layers panel
This is where all of your frames, groups and layers live. All of your images, text and shapes will be there. You can collapse groups and frames as well as show/hide and lock/unlock layers or groups from that layers panel. You can also notice that you can create multiple frames at the same time.
Now, I obviously didn’t do that, but I strongly suggest giving a descriptive enough name for each of your layers, groups and frames to make it easier to find things later on. Groups are useful to move around multiple layers at once without having to select each of them individually. They can also help make your file look tidier if used correctly.
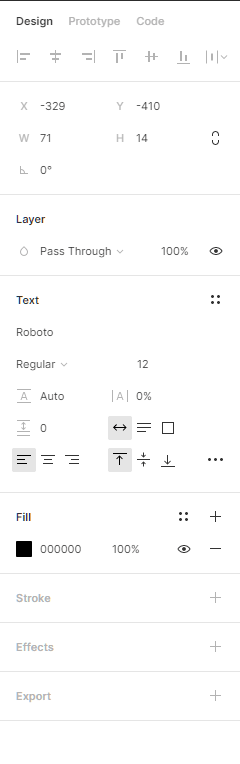
The Design Panel
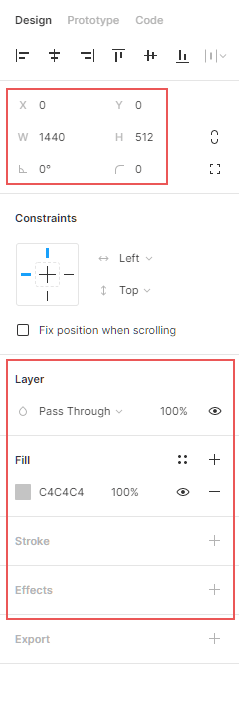
The design panel is located on the right side of your screen. I know there’s a lot of stuff there, but you can probably forget quite a lot of it. At least when starting out. What you’re gonna be interested in the most are those areas I highlighted in red.
At the top of it, you will find the X and Y positions of the element you’ve selected as well as their width, height, angle and corner radius.
For shapes
In the second red section, you will find your layer mode and your opacity, as well as your fill and stroke colors and some effects (drop shadow, inner shadow, layer blur and background blur). You can fill any shape with a solid color, a gradient (linear, radial, angular or diamond) or even an image. You can change an element’s color by clicking on the little colored square in the design panel

For text
You will have different settings available for text layers. Along with the text’s color, you will be able to add a stroke, change the typeface, font weight, font size as well as line height, letter spacing, paragraph spacing and horizontal and vertical alignment.
Thanks for reading!
You can learn how to use Figma for UI design in part 2 here!